Changing the Pricing Plan
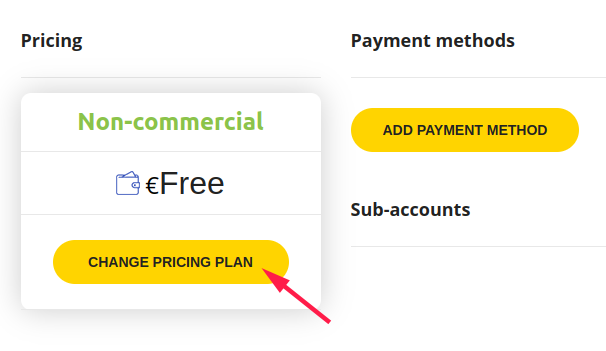
To change the pricing plan on the Profile page, you need to click the Change Pricing Plan button:
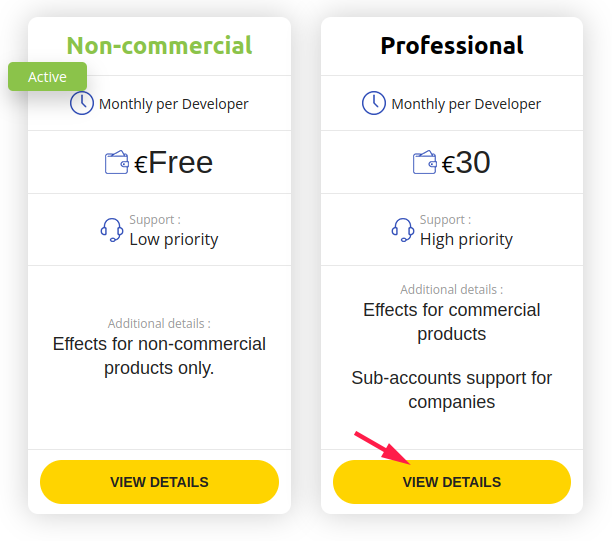
Next, on the pricing plans page, go into the details of one of the pricing plans:
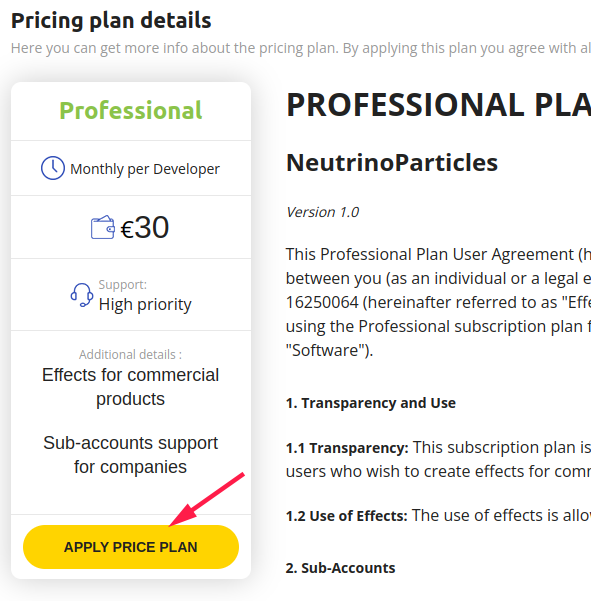
Read the terms of the pricing plan and select the one that suits you:
After selecting, you will be redirected back to the Profile page, where you will see the new pricing plan along with some of its details (1 and 2 in the illustration):

If you have switched to a free plan, you can immediately start exporting effects in the editor.
In the case of a paid pricing plan such as Professional, you won’t be able to export effects yet, as payment has not been processed and the subscription has not started.
In the image above, you can see the button (7) that initiates the first payment and starts the subscription. But before that, let's review the interface and possibly make additional settings.
The checkbox (3) indicates that this account can also export effects, and thus, payment will also be required for it. The indicator (4) shows that payment for this account has not yet been made, and the ability to export is disabled. If you want to use this account only for managing sub-accounts for your employees, uncheck the box (3).
You can see the result of changing the checkbox (3) reflected in the price formula (5). It shows how the final price (6) is calculated.
You can now also add sub-accounts following the instructions for adding sub-accounts.
When everything is set, you can start the subscription by pressing the button (7).